Invisible Proxying for Non-Proxy Aware Thick Clients
In this tutorial you will be guided through the process of configuring clients that cannot be configured to utilize a HTTP proxy server via native settings, in order to view, intercept, and modify their traffic with Caido.
Thick Clients
“Thick clients” refer to clients that lack native HTTP proxy server support. These clients perform the majority of their processes independently but occasionally communicate:
- With a database server (two-tier architecture).
- With an external backend server that communicates with a database server (three-tier architecture).
While web applications that run inside a browser can be configured to use a proxy via the connection settings or an extension like FoxyProxy, non-proxy aware thick clients ignore system proxy settings and do not have proxy setting options themselves.
So, in order to pass the HTTP traffic that these thick clients generate through Caido, you will need to set up “invisible proxying”.
Invisible Proxying
In invisible proxying, Caido acts as the destination server that the thick client application is expecting to communicate with directly.
NOTE
In this tutorial we will demonstrate setting up invisible proxying using a simple Node.js script that will act as a thick client communicating with http://www.example.com/. To follow along, ensure you have Node.js installed and create a file named thick-client.js with the following content:
const url = process.argv[2];

if (!url) {
  console.error("Usage: node fetch-test.js <url>");
  process.exit(1);
}

// Disable SSL verification (FOR TESTING ONLY).
process.env.NODE_TLS_REJECT_UNAUTHORIZED = '0';

fetch(url)
  .then((res) => res.text())
  .then((body) => {
    console.log("Response:");
    console.log(body);
  })
  .catch((err) => {
    console.error("Fetch error:", err);
  });
DNS Resolution
In order for Caido to capture the traffic, the domain name of a destination server needs to resolve to Caido’s listening address.
TIPS
To discover the domain/domains the thick client is communicating with, use a network traffic inspection tool like Wireshark and filter traffic by the DNS protocol.
To discover the IP address of a domain name, run the terminal command:
nslookup www.example.comThis can be done by adding 127.0.0.1 www.example.com as an entry to either:
- The
C:\Windows\System32\drivers\etc\hostsfile in Windows. - The
/etc/hostsfile in Linux and macOS.
Port Binding / Forwarding
The thick client will expect the destination server to be running on either port 80 (for HTTP) or 443 (for HTTPS). However, ports below 1024 are considered privileged ports which only bind to services running with root/administrative privileges.
DANGER
Running Caido with root/administrative privileges is NOT recommended. Doing so will create issues later on since any resource created by Caido will be owned by the root/administrator user. DO NOT DO THIS.
Instead, you must either:
- Preferred Method: Use port forwarding to redirect traffic intended for ports 80 and 443 to Caido's listening port.
- Use alternative port binding methods available to certain operating systems.
Windows
On Windows, you can use the netsh (Network Shell) command-line utility to setup port forwarding. Open Command Prompt as Administrator and run:
netsh interface portproxy add v4tov4 listenport=80 listenaddress=127.0.0.1 connectport=8080 connectaddress=127.0.0.1netsh interface portproxy add v4tov4 listenport=443 listenaddress=127.0.0.1 connectport=8080 connectaddress=127.0.0.1TIPS
View any active rules with:
netsh interface portproxy show allRemove the rules with:
netsh interface portproxy delete v4tov4 listenport=80 listenaddress=127.0.0.1netsh interface portproxy delete v4tov4 listenport=443 listenaddress=127.0.0.1macOS
On macOS, you can use the pfctl (Packet Filter) command-line utility to setup port forwarding by writing a redirection rule in a pf.conf file. Open the /etc/pf.conf file and add:
rdr pass on lo0 inet proto tcp from any to any port 80 -> 127.0.0.1 port 8080
rdr pass on lo0 inet proto tcp from any to any port 443 -> 127.0.0.1 port 8080
Reload the rules with:
sudo pfctl -f pf.confEnsure Packet Filter is enabled with:
sudo pfctl -eINFO
As Packet Filter hijacks port 8080, Caido's user interface will no longer load on that port. Currently, the only workaround to this is to use the CLI parameter --ui-listen 8081 to bind another port for the UI.
WARNING
Alternatively, to bind ports 80 and 443 on macOS without using root permissions or port fowarding, you can instead configure Caido to listen on all interfaces (0.0.0.0).
However, we do NOT recommend doing this in untrusted networks since this allows ANY computer on the same network as you to proxy through your computer.
Linux
On Linux, you can use the iptables command-line utility to setup port forwarding. Open a terminal and run:
sudo iptables -t nat -A OUTPUT -p tcp -d 127.0.0.1 --dport 80 -j REDIRECT --to-port 8080sudo iptables -t nat -A OUTPUT -p tcp -d 127.0.0.1 --dport 443 -j REDIRECT --to-port 8080TIPS
View any active rules with:
sudo iptables -t nat -L OUTPUT -n -v --line-numbersRemove the rules with:
sudo iptables -t nat -F OUTPUTAlternatively, on Linux, you can grant the Caido CLI permission to bind to ports 80 and 443 with:
sudo setcap 'cap_net_bind_service=+ep' ./path/to/caido-cliEnsure you grant permission to the CLI, NOT the desktop application. Usually, the binary will be found under resources/bin/caido-cli in your installation directory.
Enable Invisible Proxying
To enable invisible proxying:
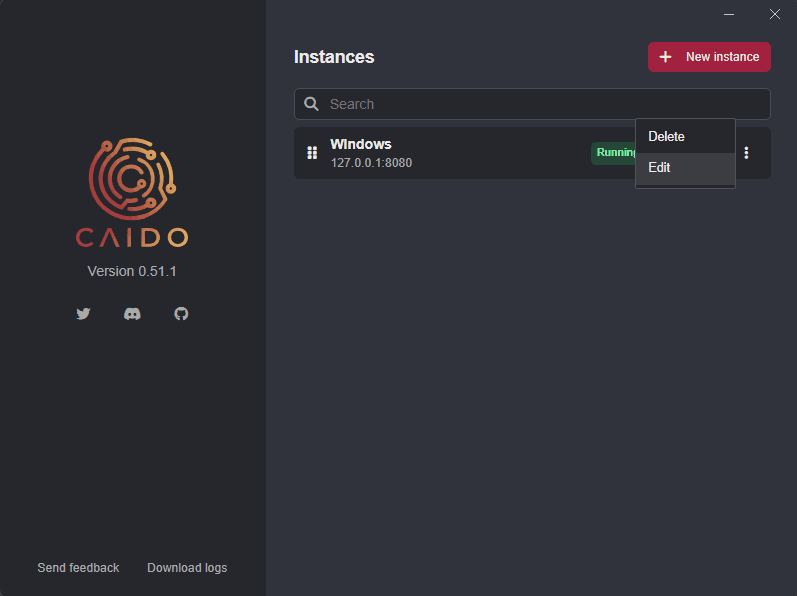
- In the launch window, click on the
button attached to an instance and selectEdit.
- Then, click on
Advancedto expand the drop-down settings menu options and click on theEnable invisible proxyingcheckbox.

- Click on the
Savebutton to update and save the configuration.
DNS Rewrite
The target domain will now resolve to Caido. However, Caido will also resolve the domain to itself, since DNS queries will check the hosts file before being sent to a resolver. In order for Caido to pass the request along to the actual destination server, you must create a DNS Rewrite rule to preserve the original IP address of the target domain.
To create a rule:
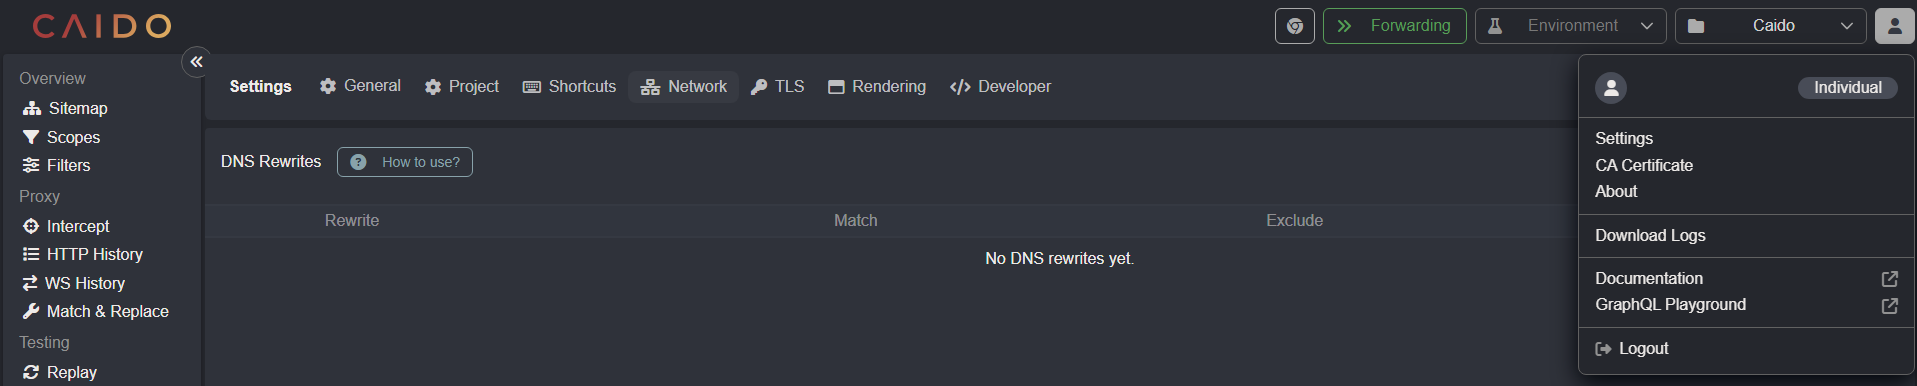
- Click on the account button
in the top-right corner of the Caido user-interface, selectSettings, and open theNetworktab.
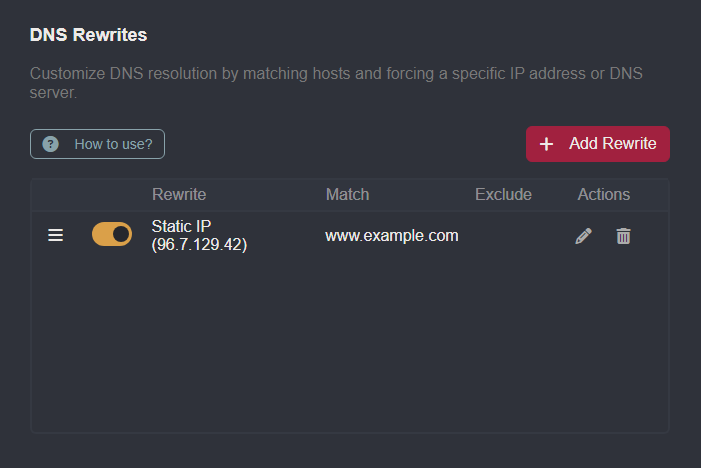
Scroll down and click on the
+ Add Rewritebutton.Click on the
Use static IPcheckbox and type in the IP address in theRedirect to static IPinput field.Add
www.example.comto theIncluded Hostslist and click on the+ Createbutton to save the rule.
TIP
Glob syntax (*) is supported to account for varying subdomains and top-level domains/extended top-level domains.
Testing
To test the configuration, navigate to the directory in which the thick-client.js file is saved to and enter:
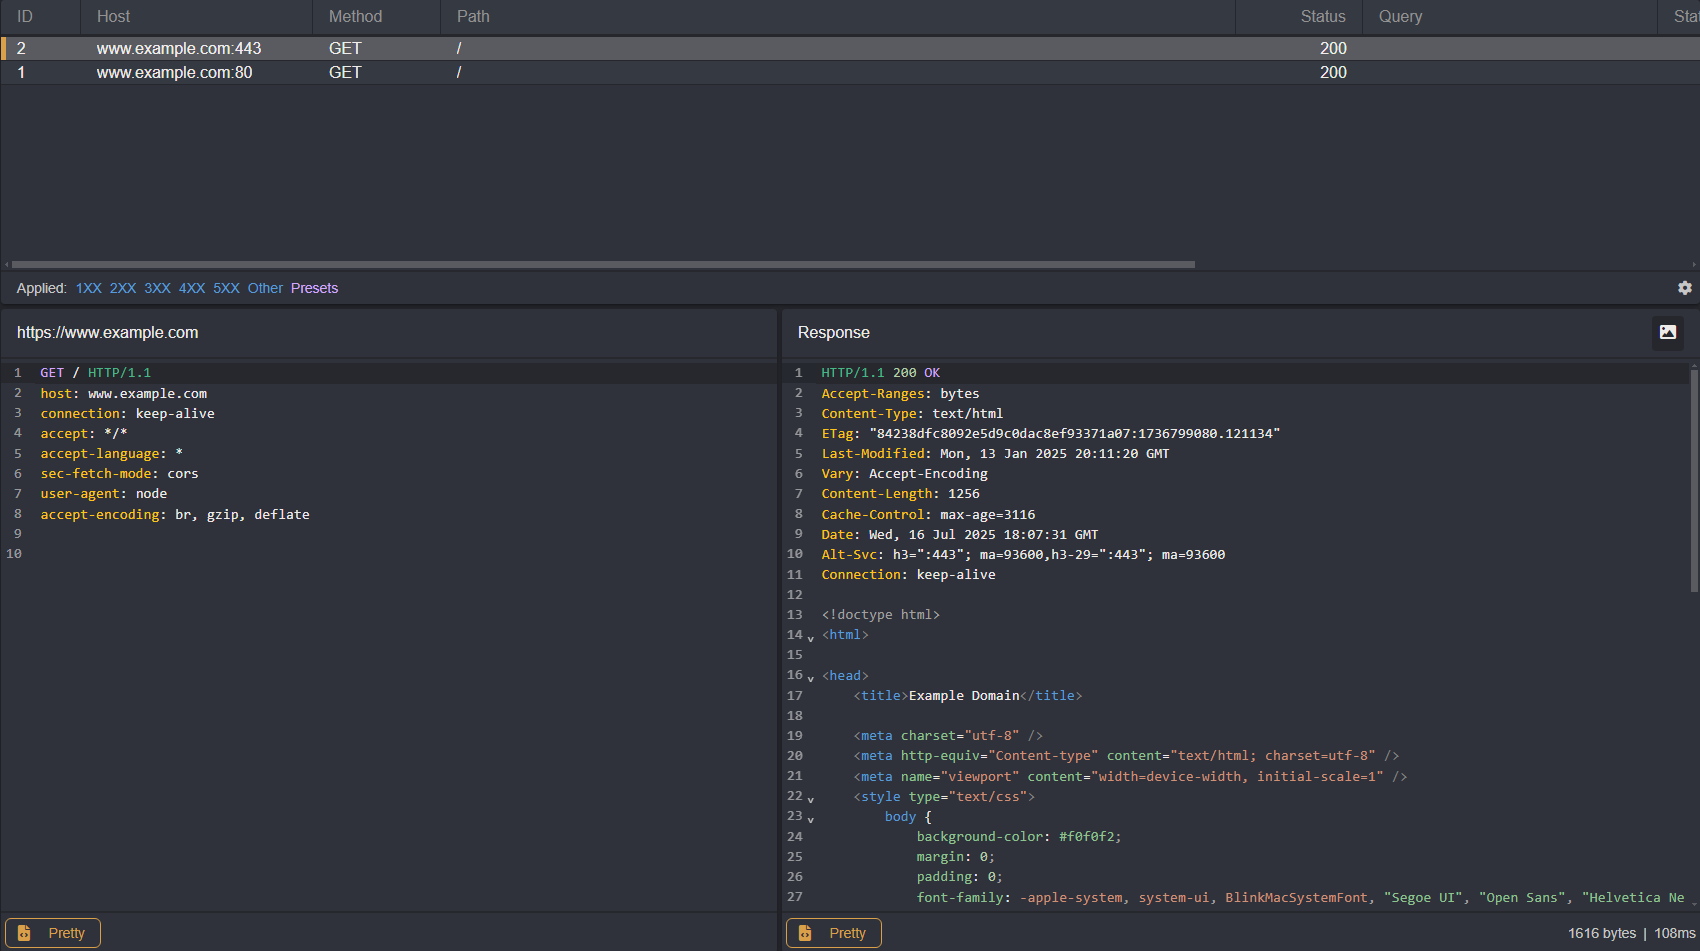
node thick-client.js http://www.example.com/And:
node thick-client.js https://www.example.com/Each time the script is executed, a new request will be proxied through Caido.
TIP
You may need to flush the DNS cache.
ipconfig /flushdns