Adding Caido's CA Certificate to the System-Store
In this tutorial, we will cover the process of adding Caido's CA certificate to the system-store of a virtual Android device.
WARNING
Caido is not liable for any malfunctions, failures, damages, loss/theft of data, or other technical issues that may occur with your device as a result of following this tutorial. Proceed at your own risk.
NOTE
This tutorial is a continuation of Android Setup and Configuration. Ensure your environment and device are prepared before continuing.
INFO
- This process requires a rooted device.
- Be aware that the exact names and locations of setting options may vary between devices.
- Ensure to pay attention to any prompts on the device itself while proceeding through these steps.
- For convenience, add all installed tools to your system's
PATHenvrionment variable to make them globally accessible. Ensure to restart your terminal afterwards so the changes take effect. - For physical devices, make sure the device is connected to the computer running Caido via USB and that both the device and the computer are on the same Wi-Fi network.
Android Studio
Android Studio is the official IDE for developing Android applications. It features the Android Emulator that can create a variety of Android Virtual Devices at specified API levels.
Download and install Android Studio for your operating system.
The installation also includes the Android SDK which provides multiple packages of command-line tools, including:
adb: The Android Debug Bridge, included in the Platform-Tools package, allows you to interface with the Android device using your computer's terminal.emulator: Included in Emulator package, this terminal command gives you control over an AVD.
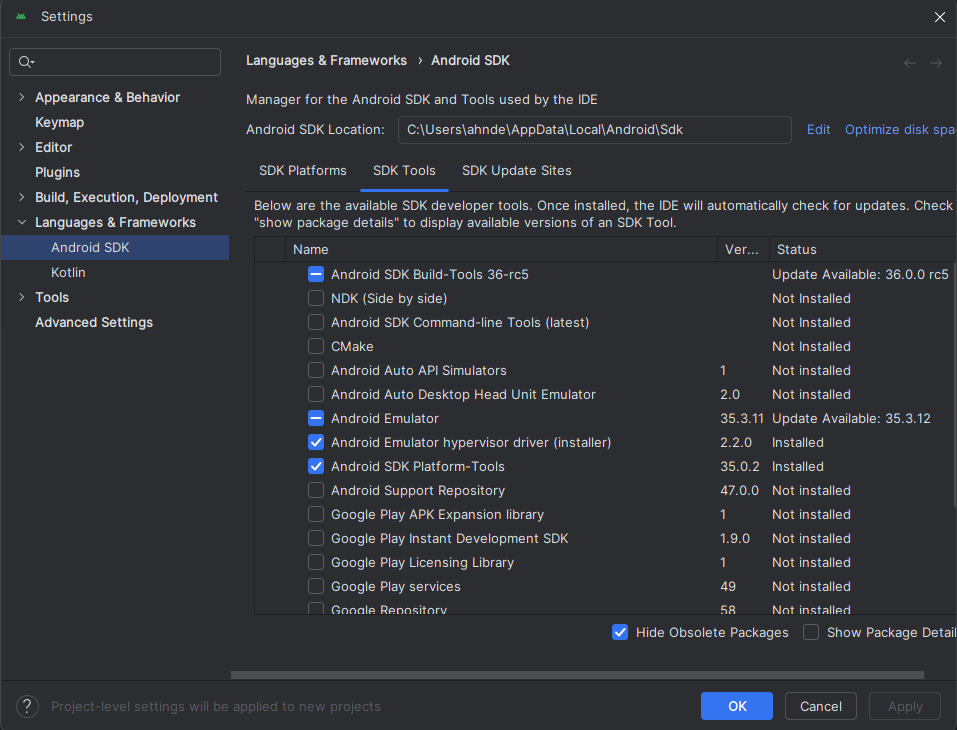
You can view the location of the available SDK developer tools by selecting SDK Manager from the More Actions drop-down menu of the Projects interface.
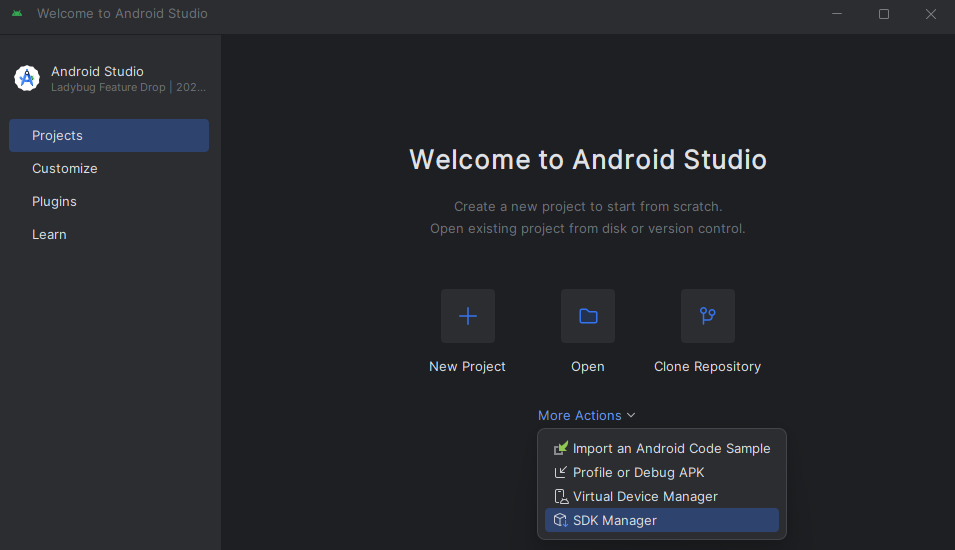
In the window that appears, the Android SDK Location will contain the full file path to the packages.
NOTE
System images that include Google Play in their build are signed with a release key and don't allow root access. In order to capture HTTPS traffic generated by an application with Caido, avoid selecting any Google Play builds when creating an AVD.
Additionally, if you want to follow along with these tutorials, avoid selecting any ATD builds as they do not include a user interface for the device.
Instead, use images listed as:
- Google APIs
- Android Open Source Project (AOSP)
- Default Android System Image
- Base versions (Android x.x.x ())
Renaming Caido's CA Certificate
In order for Caido's CA Certificate to be compatible with the Android system, it will need to meet the expected naming format.
- Generate the legacy hash of Caido's CA certificate's subject field:
openssl x509 -inform PEM -subject_hash_old -in </path/to/your/ca.crt>- Rename the Caido CA certificate to the hash with a
.0extension.
Adding a System CA Certificate
How to add a certificate to the system-store will depend on the API level of the system image.
NOTE
This method will only work for Android API level <= 33.
- List your available AVDs:
emulator -list-avds- Launch the desired AVD with write permissions (if your virtual device is currently running, terminate it first):
emulator -avd <avd> -writable-system- In a new terminal, restart the
adbdprocess on the emulator to gain root privileges:
adb root
- Disable secure boot verification:
adb shell avbctl disable-verification
- Reboot the device:
adb reboot- Gain root permissions again:
adb root- Remount the partitions as read-write:
adb remount
- Push the renamed Caido certificate to the system store:
adb push </path/to/certificate> /system/etc/security/cacerts
- Set the proper permissions:
adb shell chmod 664 -v /system/etc/security/cacerts/<certificate>
- Reboot the device:
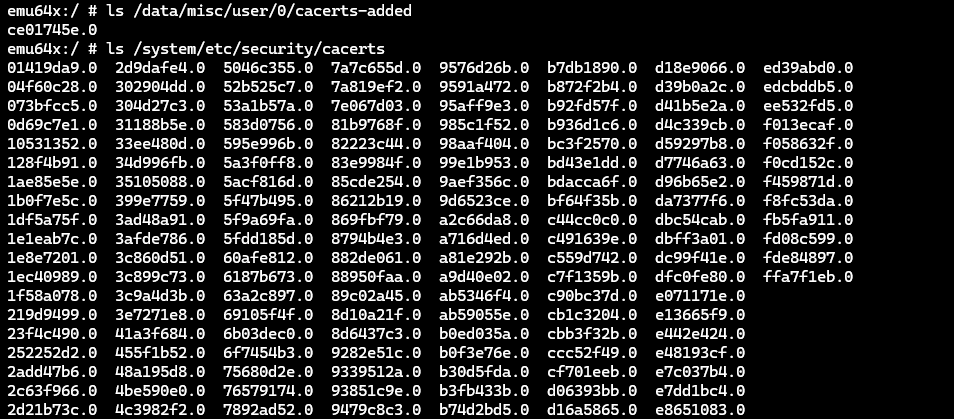
adb rebootTo verify that the certificate was added, list the contents of the /system/etc/security/cacerts directory and find the certificate:
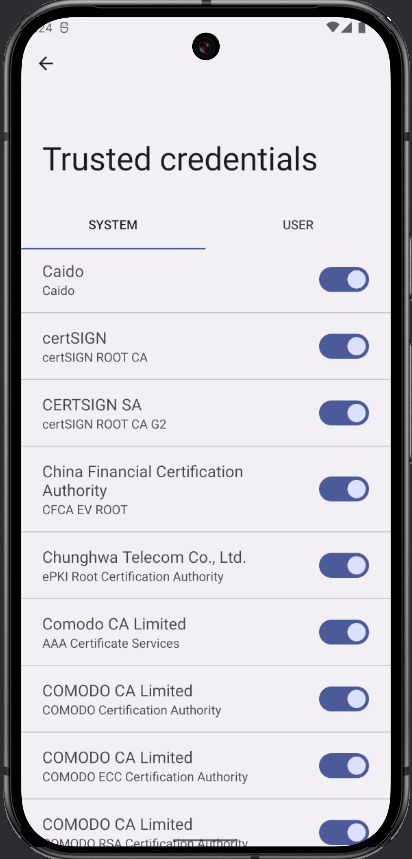
adb shell ls /system/etc/security/cacertsYou can also view the certificate addition in the device's interface. Navigate to your device's settings and search for and select Trusted credentials. In the SYSTEM tab, it will be included in the list.
What's next?
If the application is still not working properly and traffic is still not being proxied, continue with the Modifying an Android Application tutorial.