Enable Feature Flags
In this tutorial, you will learn how to configure Match & Replace rules to gain access to features intended for admin users in an intentionally vulnerable application from Caido's Web Security Labs.
Many applications implement feature flag services to hide or display elements and conduct A/B testing for upcoming features.
Typically, access to these additional features is determined by Boolean values, user permission levels, or subscription tiers. However, when access checks are only performed client-side, they can be easily bypassed by creating Match & Replace rules to modify the response before it reaches the client.
Match & Replace Lab Walkthrough
NOTE
To access the lab, navigate to https://labs.caido.io/hubs/match-and-replace, sign in with your account credentials, and click on the Launch hub button.
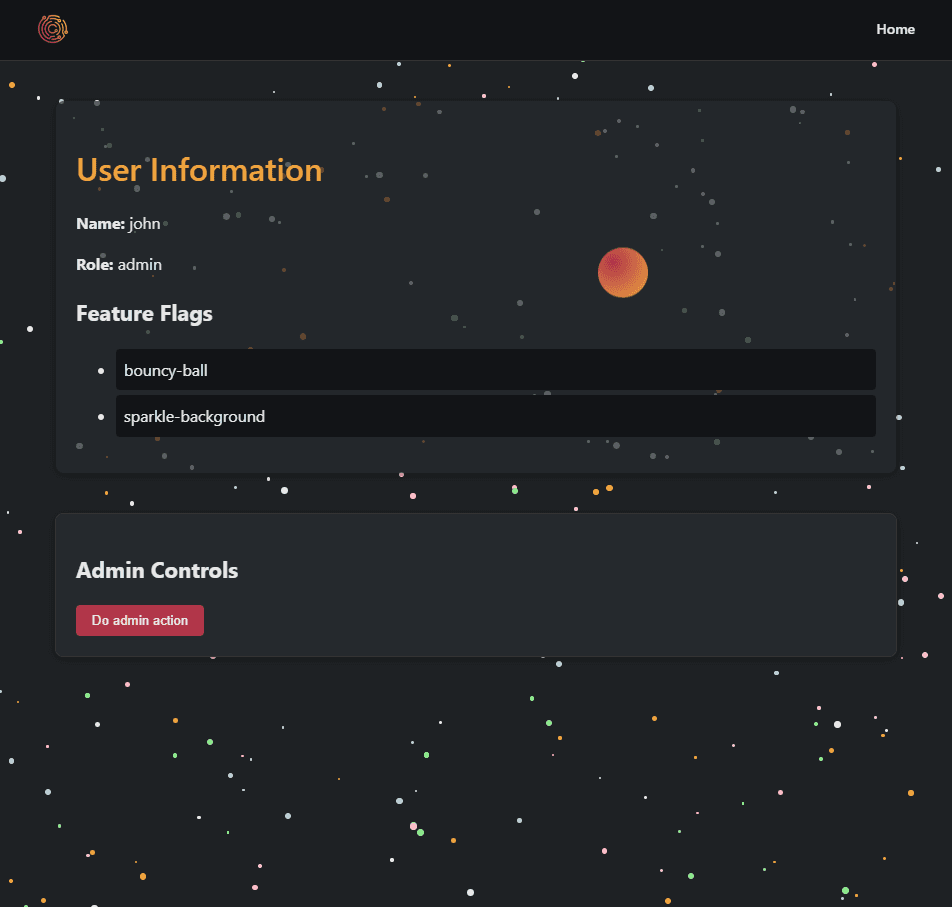
The Match & Replace Lab displays different user-interface components based on a user's permission role: either basic or admin.
- With your proxy settings enabled, click on the
Open in new tabbutton to launch your lab instance. - Within the corresponding response is a
userobject:
        let user = {
            name: "john",
            role: "basic",
            featureFlags: [] // Update this array to enable/disable features
};- If
(user.role === "admin")in thecheckUserRole()function:
        // Check if role is admin and update feature flags
        function checkUserRole() {
            if (user.role === "admin") {
                displayAdminUI();
            }

            displayUserInfo();
            checkFeatureFlags();
}- The
displayAdminUI()function will execute and append an administrative panel to the page:
        // Display admin UI elements
        function displayAdminUI() {
            const adminContainer = document.createElement('div');
            adminContainer.id = 'admin-container';
            adminContainer.className = 'container';
            adminContainer.style.marginTop = '20px';
            adminContainer.style.backgroundColor = 'var(--card-bg)';
            adminContainer.style.border = '1px solid #333';

            const heading = document.createElement('h2');
            heading.textContent = 'Admin Controls';

            const adminButton = document.createElement('button');
            adminButton.textContent = 'Do admin action';
            adminButton.style.padding = '8px 16px';
            adminButton.style.backgroundColor = 'var(--button-bg)';
            adminButton.style.color = 'var(--text)';
            adminButton.style.border = 'none';
            adminButton.style.borderRadius = '4px';
            adminButton.style.cursor = 'pointer';

            adminButton.addEventListener('click', function() {
                fetch("/superSecretAdminStuff.php").then(a => a.json()).then(data => {
                    alert(data.message);
                });
            });

            adminContainer.appendChild(heading);
            adminContainer.appendChild(adminButton);
            document.body.appendChild(adminContainer);
}- The
checkFeatureFlags()function will parse theuser.featureFlagsproperty array and append additional components to the user-interface:
        // Check feature flags and activate features
        function checkFeatureFlags() {
            // Check for bouncy ball feature
            if (user.featureFlags.includes('bouncy-ball')) {
                createBouncyBall();
            }

            // Check for sparkle background feature
            if (user.featureFlags.includes('sparkle-background')) {
                enableSparkleBackground();
            }
        }

        // Create and show bouncy ball
        function createBouncyBall() {
            const ball = document.createElement('div');
            ball.className = 'bouncy-ball';

            // Random starting position
            ball.style.left = Math.random() * 80 + 10 + '%';
            ball.style.top = Math.random() * 50 + 25 + '%';

            document.body.appendChild(ball);
        }

        // Enable sparkle background
        function enableSparkleBackground() {
            document.body.classList.add('sparkle-bg');

            // Create sparkles
            setInterval(createSparkle, 300);
        }

        // Create individual sparkle
        function createSparkle() {
            const sparkle = document.createElement('div');
            sparkle.className = 'sparkle';

            // Random position, size and color
            const size = Math.random() * 5 + 2;
            sparkle.style.width = size + 'px';
            sparkle.style.height = size + 'px';
            sparkle.style.left = Math.random() * 100 + '%';
            sparkle.style.top = Math.random() * 100 + '%';

            const colors = ['var(--accent)', '#FFC0CB', '#ADD8E6', '#90EE90', 'var(--text)'];
            sparkle.style.background = colors[Math.floor(Math.random() * colors.length)];

            document.body.appendChild(sparkle);

            // Fade out and remove
            setTimeout(() => {
                sparkle.style.opacity = '0';
                sparkle.style.transition = 'opacity 1s';
                setTimeout(() => {
                    document.body.removeChild(sparkle);
                }, 1000);
            }, 1000);
        }
Accessing the Administrative Panel
To display the administrative panel:
- Navigate to the Match & Replace interface and click on the
+ New Rulebutton.
TIP
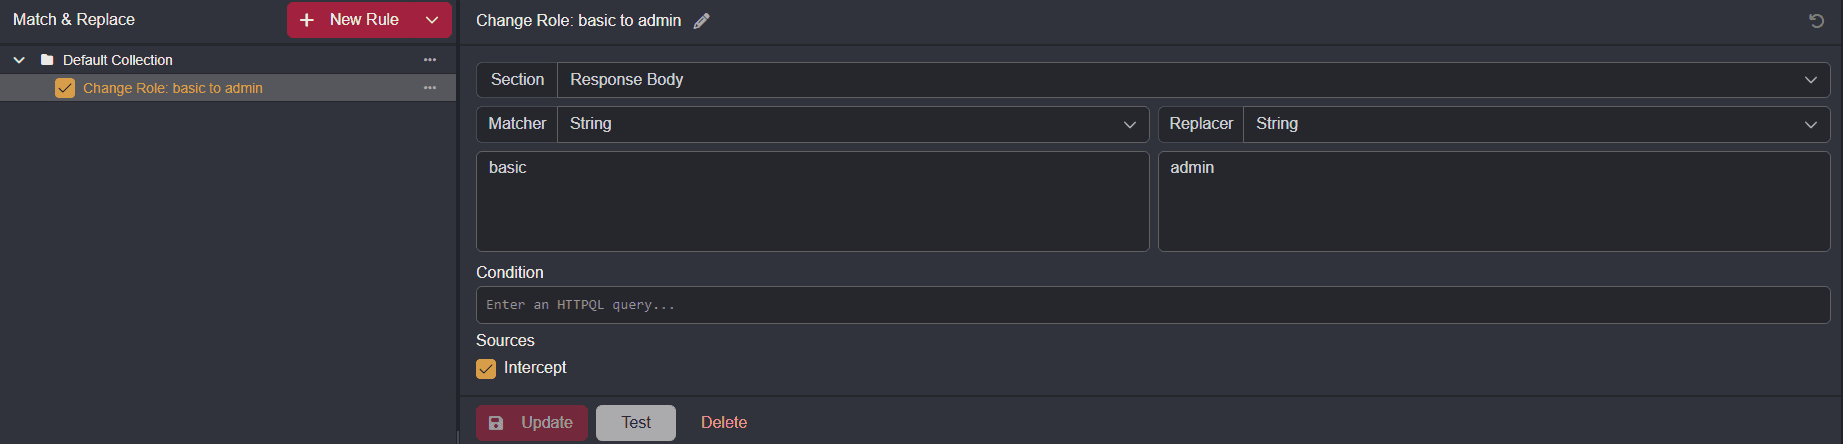
Click on the button to rename the rule to a name that quickly identifies the rule's purpose such as "Change Role: basic to admin".
- Select
Response Bodyfrom theSectiondrop-down menu andStringfrom theMatcherdrop-down menu. - Type in
basicin theMatcherinput field andadminin theReplacerinput field. - Next, click on the
Interceptcheckbox to apply the modification to all proxied responses. - Click on the
Updatebutton to add the rule to the Default Collection. - Expand the Default Collection by clicking on the
button attached to it and click on the rule's associated checkbox to enable it.
- Reload the page.

Since the rule automatically changed role from "basic" to "admin" in the response before it reached the browser, the conditional check is satisfied and displayAdminUI() is executed, rendering the administrative panel in the user-interface.
Accessing the Additional Features
To access the additional user-interface features that are only intended for admin users:
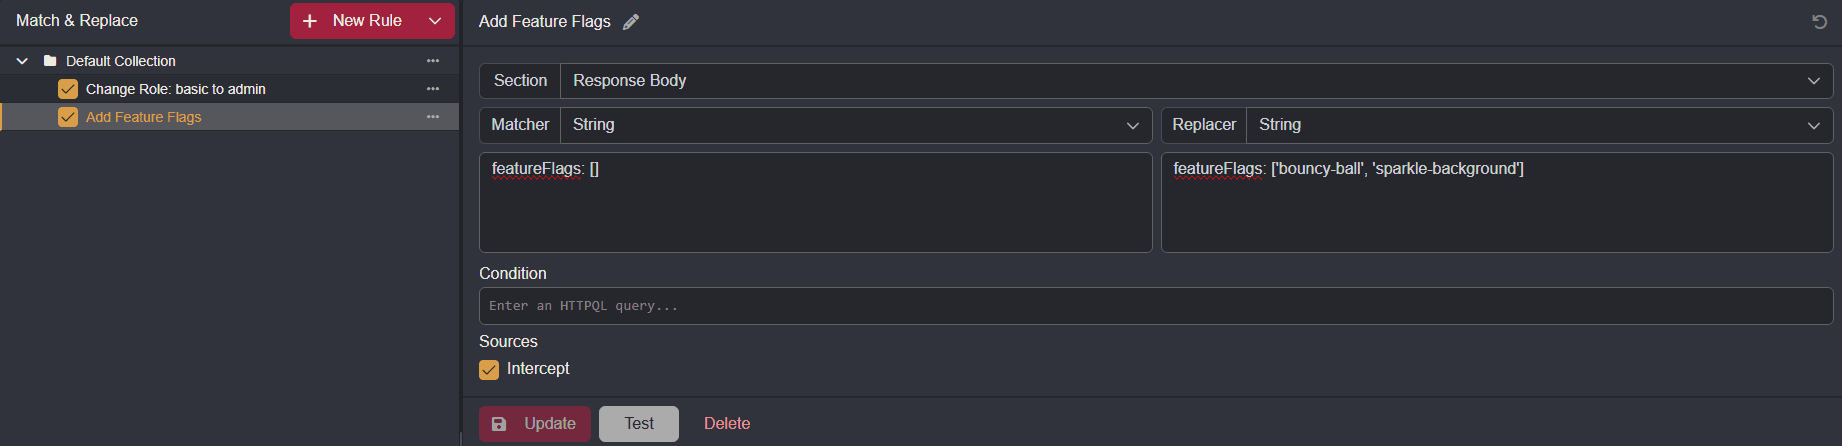
- Copy
featureFlags: []from the response body.
NOTE
When copying values to match against from requests or responses, ensure to view their raw representation to ensure correct formatting.
- Create another rule in the Match & Replace interface that targets the
Request Body. - Select
Stringfrom theMatcherdrop-down menu and pastefeatureFlags: []in the input field. - In the
Replacerinput field, type infeatureFlags: ['bouncy-ball', 'sparkle-background']. - Click on the
Interceptcheckbox, theUpdatebutton, and the rule's associated checkbox in the Default Collection to add and enable the rule.
- Reload the page.
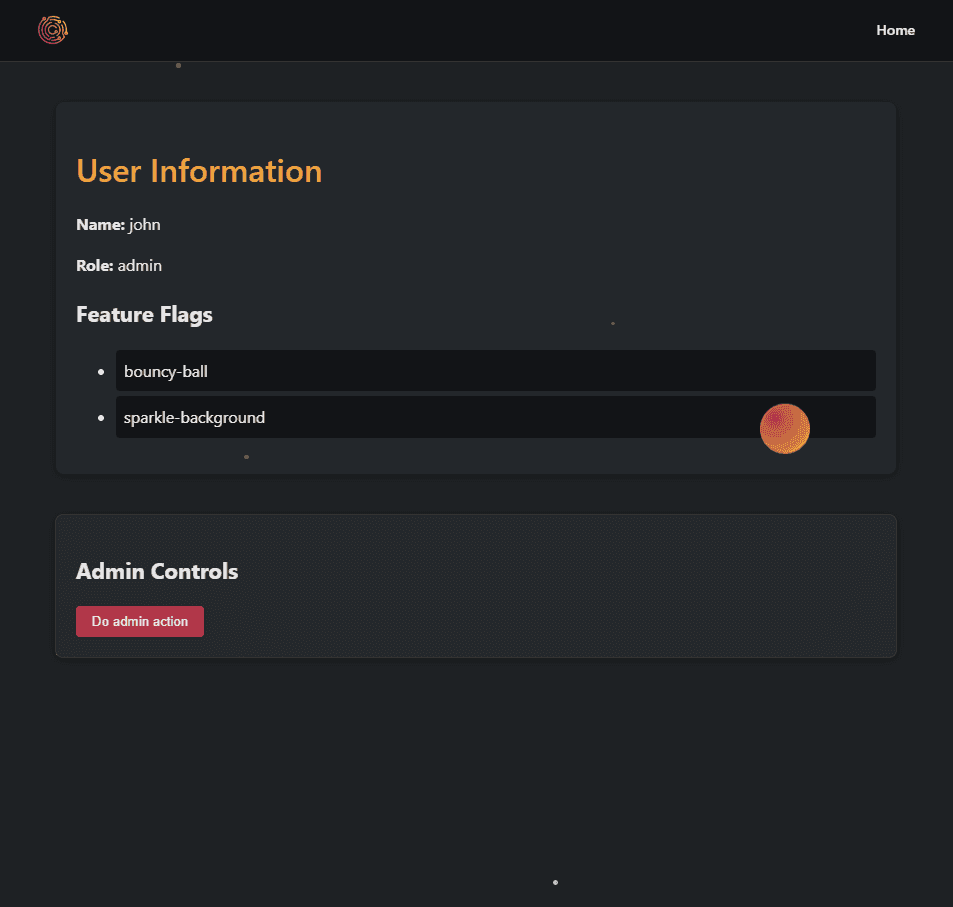
In combination with the previous rule, since the rule automatically added the features to the array in the response before it reached the browser, when checkFeatureFlags() is executed, if (user.featureFlags.includes('bouncy-ball')) and if (user.featureFlags.includes('sparkle-background')) is satisfied and the createBouncyBall() and enableSparkleBackground() functions are executed.
Additional Modification
Rules can also be created to target entire blocks instead of just individual values or lines.
For example, by matching against the setTimeout function and replacing it with an empty string or comment, you can effectively remove the code from the page.
Matcher: String
            // Fade out and remove
            setTimeout(() => {
                sparkle.style.opacity = '0';
                sparkle.style.transition = 'opacity 1s';
                setTimeout(() => {
                    document.body.removeChild(sparkle);
                }, 1000);
            }, 1000);
Replacer: String
// Leave empty or add this comment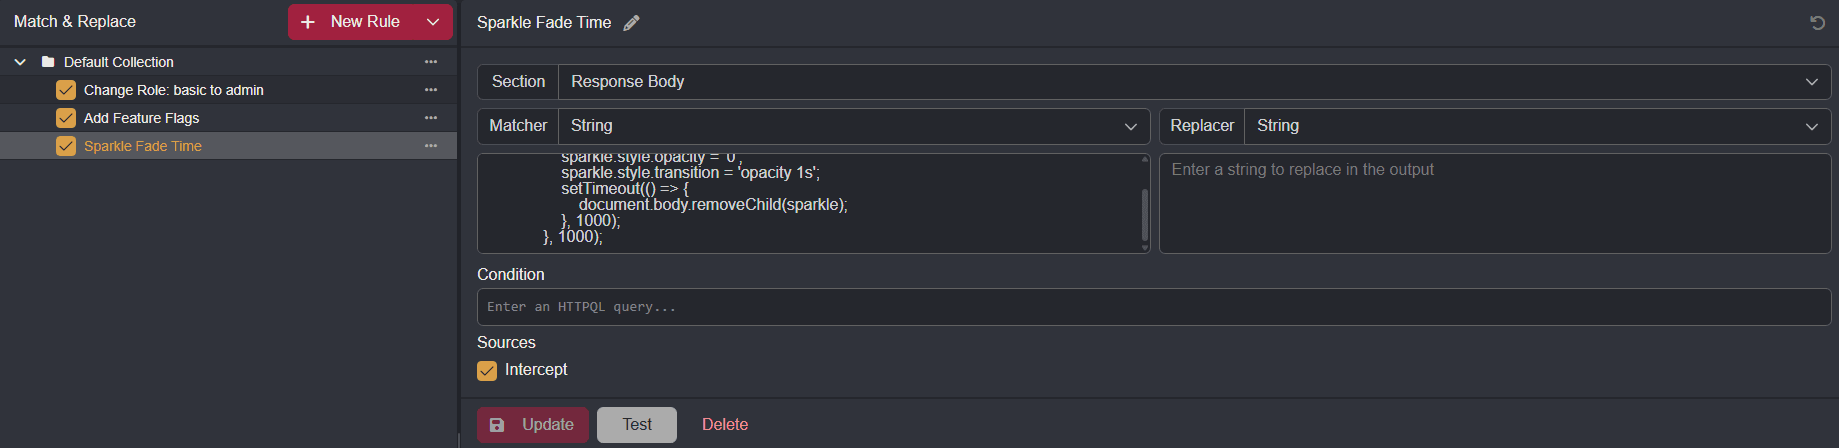
Now, once the page is reloaded, the sparkles will persist.