Modifying an Android Application: Virtual & Physical Devices
NOTE
This tutorial is a continuation of the previous tutorials. Ensure your environment and virtual/physical device is prepared before continuing.
To proceed with this tutorial, you will need to download/install the SSL Pinning Demo application.
SSL Pinning Demo
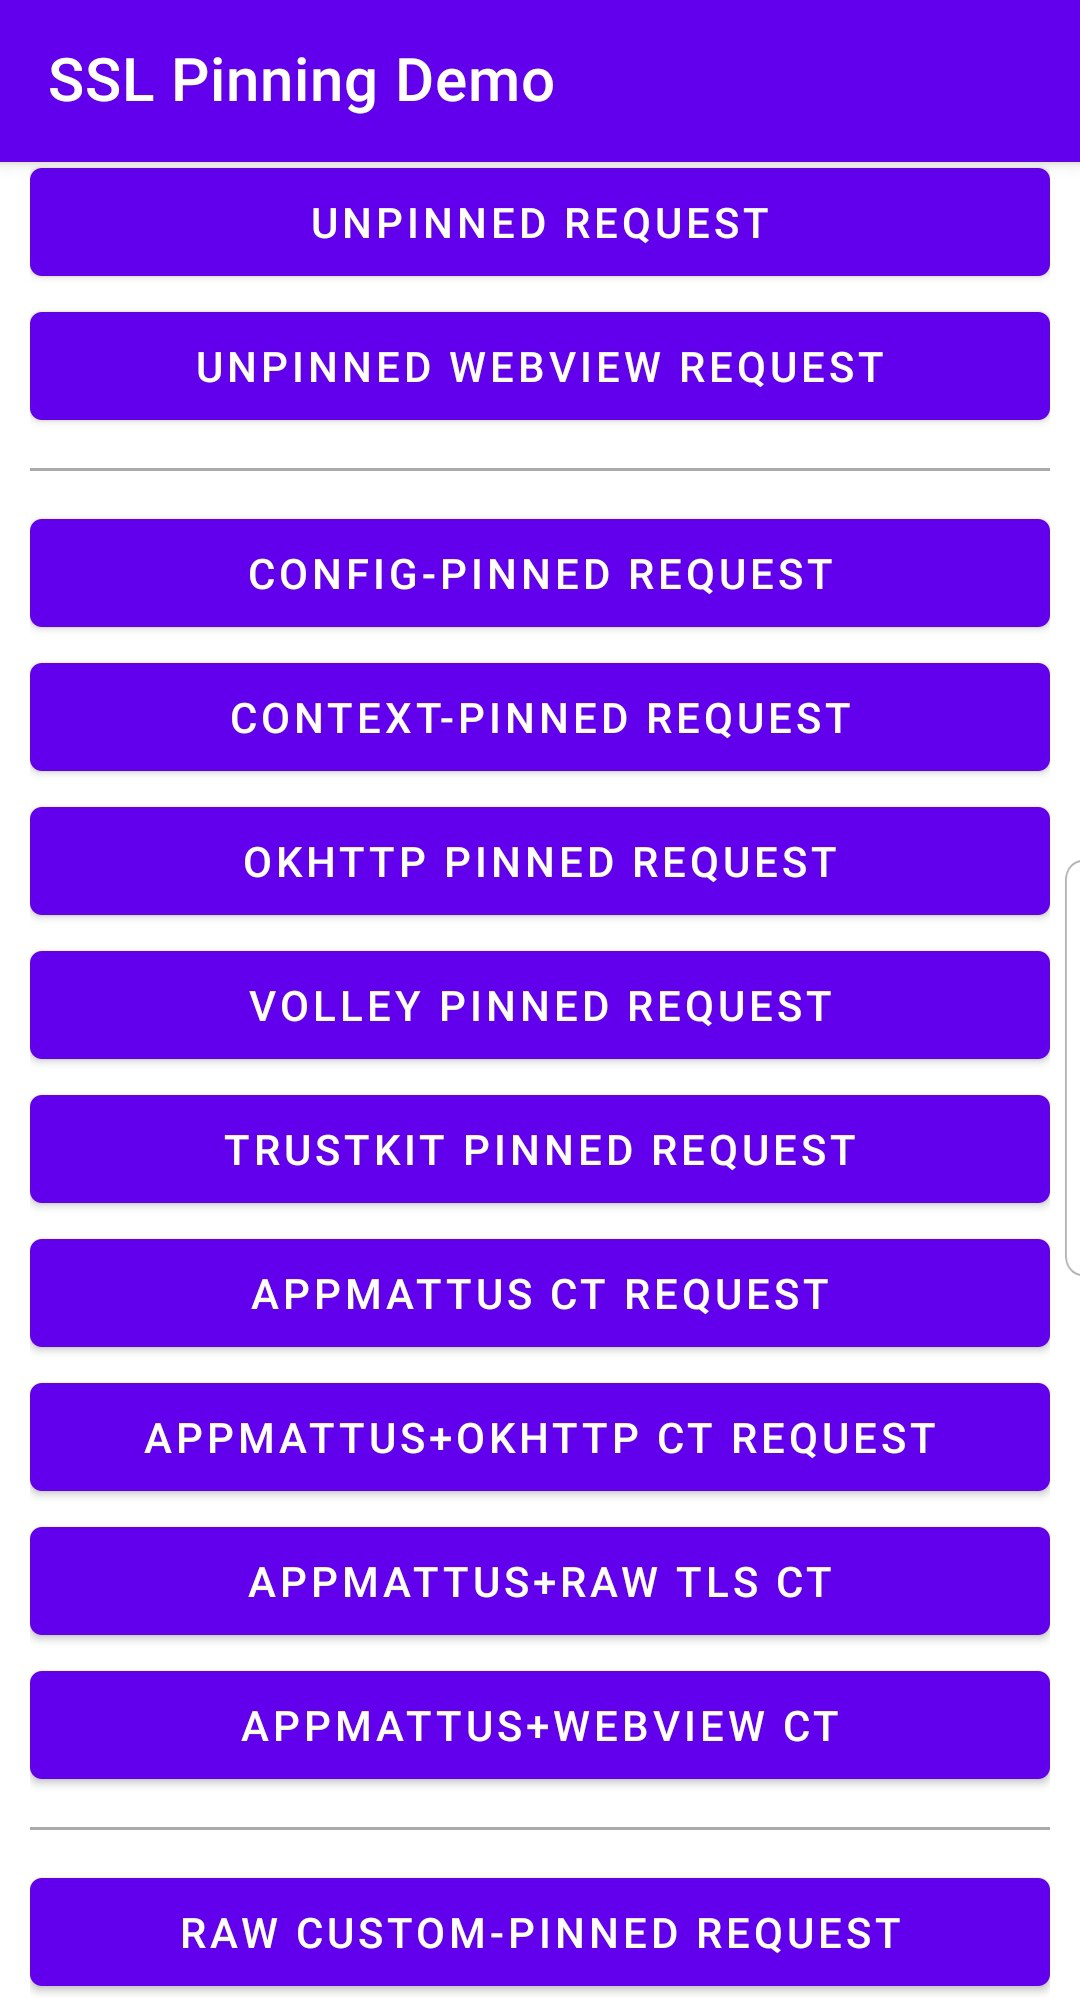
The SSL Pinning Demo is an Android application developed by HTTPToolkit for security education. It blocks HTTPS traffic from being proxied or intercepted via certificate pinning and a security configuration file.
The application provides an array of buttons that issue requests under various secure and insecure configurations. Unpacking and modifying the Android Package Kit (APK) file bundle that comprises the application demonstrates how these protective measures can be bypassed.
If an application's traffic is still not proxied through Caido or you encounter errors or limited functionality, similar protective measures likely exist in its code or configuration.
NOTE
This tutorial was written using:
- SSL Pinning Demo v1.4.1. To download this release visit: https://github.com/httptoolkit/android-ssl-pinning-demo/releases/download/v1.4.1/pinning-demo.apk
We recommend using the same version to ensure the instructions align.
INFO
- This process does NOT require a rooted device.
- Be aware that the exact names and locations of setting options may vary between devices.
- Ensure to pay attention to any prompts on the device itself while proceeding through these steps.
- For physical devices, ensure the device is connected to the computer running Caido via USB and that both the device and the computer are on the same Wi-Fi network.
Once the SSL Pinning Demo v1.4.1 APK has been downloaded to your computer, to install it on your device:
- Execute the
adbtool withdevicesto ensure the device is listed.
adb devicesNavigate to the file system location of the APK file.
Execute the
adbtool with the device ID as the value of the-sargument and the file system location of thepinning-demo.apkas the value of theinstallargument to install the application.
adb -s <device-id> install pinning-demo.apkExtracting an APK
Once the SSL Pinning Demo v1.4.1 application has been installed on your device, to simulate extracting the APK from the installation:
- Execute the
adbtool against the device withshellto initialize a terminal.
adb -s <device-id> shell- Find the application's
base.apkpackage on your device by listing all the file paths of installed packages and filtering the results by the application name.
pm list packages -f | grep -i pinning
Copy the absolute file path (starting from
/dataand ending with/base.apk) and exit the device command-line interface usingCTRL+Dor by typing and enteringexit.Execute the
adbtool against the device with the file path as the value of thepullargument to pull the APK to your computer.
adb -s <device-id> pull </data/app/<path-segments>/base.apk>
Unpacking APKs
Once you have an application's APK, to decompile the package into its individual resources:
Download and install Apktool for your operating system.
Open a terminal and navigate to the file system location of the APK file.
Execute
apktoolwithdand the output directory (e.g.unpacked) as the value of the-oargument against the APK file (e.g.base.apk) to unpack the contents to the specified directory.
apktool d -o unpacked base.apk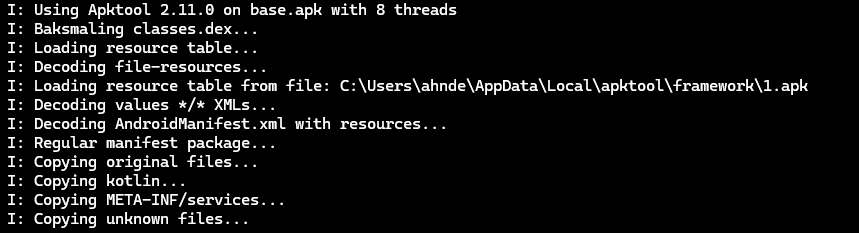
Modifying the Network Security Configuration File
Application traffic may be blocked from interception/proxying due to the presence of a Network Security Configuration file. Introduced in Android 7.0 (API level 24), the network_security_config.xml file allows developers to customize network security settings for their applications.
In some cases, modifying this file and including the <certificates src="user" overridePins="true" /> directive to trust user-supplied certificates may be sufficient enough to configure the application to be Caido compatible.
To make the appropriate changes:
Open the
/res/xml/network_security_config.xmlfile from the unpacked directory in an editor (or, if it doesn't exist, create it).Replace/write the content of the file to:
<?xml version="1.0" encoding="utf-8"?>
<network-security-config>
    <!-- Base configuration that applies to all connections if not overridden. -->
    <base-config>
        <!-- Define which certificates should be trusted as root CAs (trust anchors). -->
        <trust-anchors>
            <!-- Trust the pre-installed system certificates. -->
            <certificates src="system" />
            <!-- Trust user-installed certificates (like Caido's CA) and allow them to override certificate pinning. -->
            <certificates src="user" overridePins="true" />
        </trust-anchors>
    </base-config>
</network-security-config>
Save the changes to
/res/xml/network_security_config.xml.Ensure that the main configuration file,
AndroidManifest.xmlreferences thenetwork_security_config.xmlfile via theandroid:networkSecurityConfig="@xml/network_security_config"attribute in the<application>tag (if you created a newnetwork_security_config.xmlfile, you will have to explicitly add this).Save any changes to
AndroidManifest.xml.From the root directory of the unpacked APK, execute
apktoolwithband the output filename (e.g.modified.apk) as the value of the-oargument to repack the contents into an APK.
apktool b -o modified.apk ./
Download and install Java Development Kit (JDK) for your operating system and add the
/bindirectory to your system's PATH environment variable.Open a new terminal and navigate to the file system location of the repacked APK file.
Execute
keytoolto generate a signing key with a keystore filename as the value of the-keystoreargument (e.g.custom.keystore).
keytool -genkey -v -keystore custom.keystore -alias aliasname -keyalg RSA -keysize 2048 -validity 10000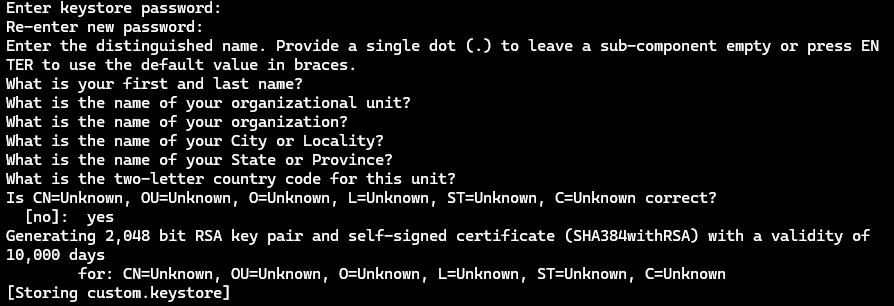
Follow the prompts to configure the key.
Add the
build-tools\<version>directory (a subdirectory of the file system location stated in theAndroid SDK Locationfield) to your system's PATH environment variable.Open a new terminal and navigate to the file system location of the repacked APK file.
Execute
zipalignwith-p 4against the repacked APK filename (e.g.modified.apk) and specify a new APK filename for the aligned file (e.g.aligned.apk).
zipalign -p 4 modified.apk aligned.apk- Sign the APK.
apksigner sign --ks custom.keystore aligned.apk- Execute the
adbtool against the device withuninstall tech.httptoolkit.pinning_demoto uninstall the existing installation.
adb -s <device-id> uninstall tech.httptoolkit.pinning_demo- Install the modified application on the device.
adb -s <device-id> install aligned.apkOpen the SSL Pinning Demo application on your device. Modifying the network_security_config.xml file allows for the following requests (highlighted in green):
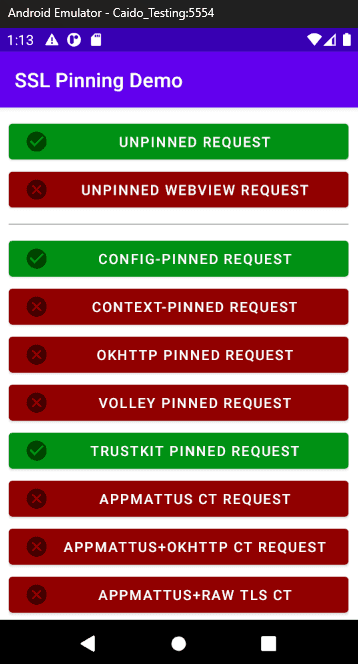
You will now see traffic generated by the application in Caido's HTTP History traffic table.
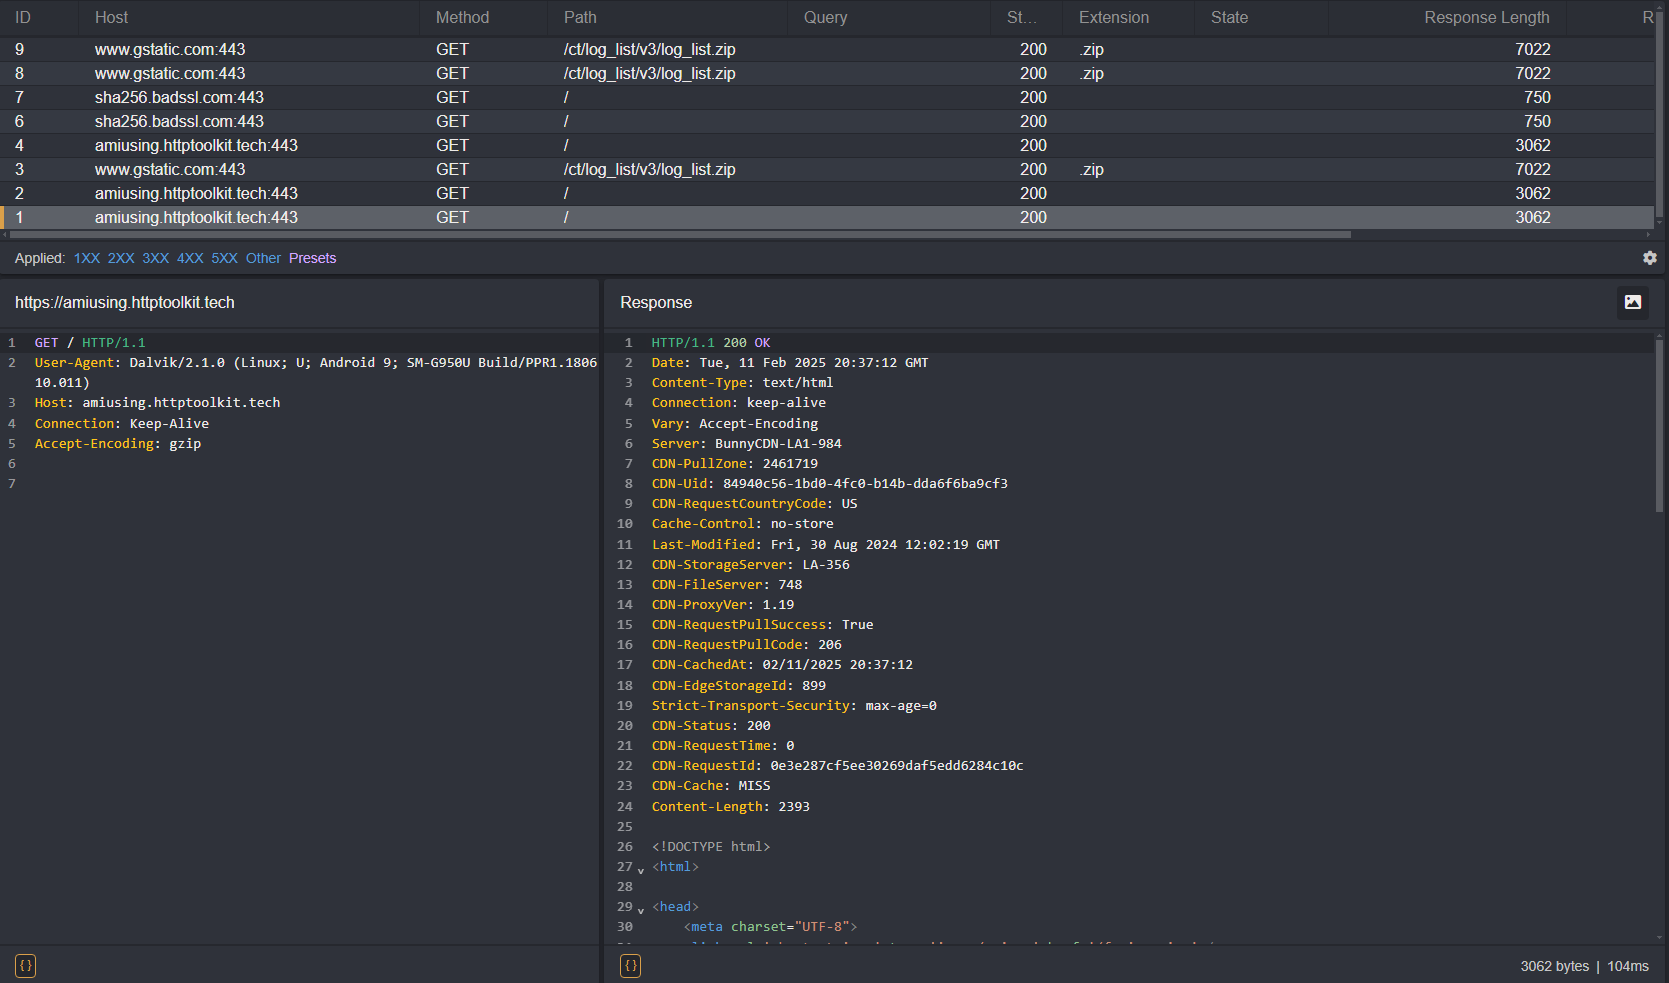
As you can see, certain requests still result in an error message and are not proxied through Caido. This is due to certificate pinning within the application code.
Frida
Frida is a toolkit that allows you to hook custom scripts into running Android application processes, enabling real-time analysis and modification. This can be used to modify the processes that are checking the SSL/TLS certificates.
NOTE
This tutorial was written using:
- Frida v16.6.6
- Frida Tools v13.6.0
We recommend using the same versions to ensure the instructions align.
To bypass the additional certificate pinning protections:
- Download and install the Frida CLI tools (Frida and Frida Tools):
pip install frida==16.6.6 frida-tools==13.6.0Add the
/scriptsdirectory of the package to your system's PATH environment variable.Open a new terminal and navigate to the file system location of the unpacked APK directory.
Frida Gadget
Since certain Frida operations may not work with unrooted devices, you will also need the Frida Gadget library. Once the library is injected into the APK, commands can be executed using the CLI tools.
NOTE
This tutorial was written using:
- Frida Gadget v16.6.6
We recommend using the same versions to ensure the instructions align.
To check which download you will need for your device's architecture:
- Execute the
adbtool against the device withshell getprop ro.product.cpu.abito get the device's CPU ABI.
adb -s <device-id> shell getprop ro.product.cpu.abi- Download the latest appropriate
frida-gadget-16.6.6-android-<architecture>.so.xzpackage:
- For
armeabi-v7aorarmeabi: android-arm.so.xz - For
arm64-v8a: android-arm64.so.xz - For
x86: android-x86.so.xz - For
x86_64: android-x86_64.so.xz
Once downloaded, extract the library folder to your working directory and rename the .so file to:
libfrida-gadget.soBypassing Hardcoded Certificate Pinning
To bypass hardcoded certificate pinning protections, you will need to insert the Frida Gadget library into the main activity stated in the AndroidManifest.xml configuration file:
INFO
In Android development, an "activity" is the term used to refer to a specific page/screen of the application.
- Open the
AndroidManifest.xmlfile of the unpacked APK in a text editor.
<?xml version="1.0" encoding="utf-8"?>
<manifest xmlns:android="http://schemas.android.com/apk/res/android" android:compileSdkVersion="33" android:compileSdkVersionCodename="13" package="tech.httptoolkit.pinning_demo" platformBuildVersionCode="33" platformBuildVersionName="13">
    <uses-permission android:name="android.permission.INTERNET"/>
    <application android:allowBackup="true" android:appComponentFactory="androidx.core.app.CoreComponentFactory" android:extractNativeLibs="false" android:icon="@mipmap/ic_launcher" android:label="@string/app_name" android:networkSecurityConfig="@xml/network_security_config" android:roundIcon="@mipmap/ic_launcher_round" android:supportsRtl="true" android:theme="@style/Theme.MyApplication">
        <activity android:exported="true" android:name="tech.httptoolkit.pinning_demo.MainActivity">
            <intent-filter>
                <action android:name="android.intent.action.MAIN"/>
                <category android:name="android.intent.category.LAUNCHER"/>
            </intent-filter>
        </activity>
    </application>
</manifest>
Change the value of the
android:extractNativeLibsattribute from"false"to"true".Save the changes to the
AndroidManifest.xmlfile.
android:extractNativeLibs="true"- Next, search for the
activitytag for the value of theandroid:nameattribute which stores the full name of the package that serves the main activity of the application upon launch.
<activity android:exported="true" android:name="tech.httptoolkit.pinning_demo.MainActivity">INFO
The packages can be recognized by their ending syntax of <Keyword>Activity (e.g. MainActivity, SplashActivity, WindowActivity, LauncherActivity, etc.).
Recursively search through the unpacked APK for the
MainActivity's.smalifile.Open the
smali/tech/httptoolkit/pinning_demo/MainActivity.smalifile and locate the.method public constructor <init>()Vinitialization function (lines 74-81).
.method public constructor <init>()V
    .locals 0

    .line 51
    invoke-direct {p0}, Landroidx/appcompat/app/AppCompatActivity;-><init>()V

    return-void
.end method- Modify this method to include the Frida Gadget script and increment the value of its
.localsproperty to account for the change.
.method public constructor <init>()V
    .locals 1

    const-string v0, "frida-gadget"
    invoke-static {v0}, Ljava/lang/System;->loadLibrary(Ljava/lang/String;)V

    .line 51
    invoke-direct {p0}, Landroidx/appcompat/app/AppCompatActivity;-><init>()V

    return-void
.end method
Save the changes to
smali/tech/httptoolkit/pinning_demo/MainActivity.smali.Next, create a
libdirectory in the root of the unpacked APK folder, an architecture specific subdirectory, and move thelibfrida-gadget.sofile into it (example:/unpacked/lib/x86/libfrida-gadget.so).Execute
apktoolwithband the output filename (e.g.frida-app.apk) as the value of the-oargument against the unpacked APK directory to repack the contents.
apktool b -o frida-app.apk ./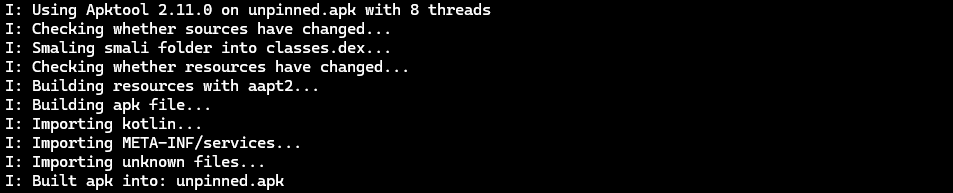
- Align the file (e.g.
frida-aligned.apk).
zipalign -p 4 frida-app.apk frida-aligned.apk- Sign the APK.
apksigner sign --ks custom.keystore frida-aligned.apk- Uninstall the original application from the device.
adb -s <device-id> uninstall tech.httptoolkit.pinning_demo- Install the modified APK.
adb -s <device-id> install frida-aligned.apkFrida CodeShare
Frida Codeshare is Frida's official repository of scripts for bypassing the protective measures of various HTTP libraries utilized by Android applications.
To utilize a script from the repository:
Open the SSL Pinning Demo application on your device. The screen will be blank as it is awaiting the script that will hook into the application's initialization.
Execute
fridaagainst the device with-U gadgetand the script<author>/<name>(e.g.fdciabdul/frida-multiple-bypass) as the value of the--codeshareargument.
frida -U gadget --codeshare fdciabdul/frida-multiple-bypassDepending on the script used, you will now be able to make additional requests that previously failed.
WARNING
When sourcing files online, ensure to evaluate the code for any malicious operations before executing it.
TIP
To specify a local script, use the filename as the value of the -l argument.
./frida -U gadget -l <file>