Using ZeroOmega
The ZeroOmega browser extension gives you the ability to quickly enable/disable your browser's use of Caido as a proxy.
Chrome
To install the browser extension, launch the Chrome browser, navigate to https://chromewebstore.google.com/detail/proxy-switchyomega-3-zero/pfnededegaaopdmhkdmcofjmoldfiped, and click on the Add to Chrome button.
In the pop-up window, click on the Add extension button.

Once the extension is installed, click on the button in the top-right corner of the browser window, and then either click on the button or right-click on the extension and select Pin to Toolbar.
Then, continue to the configuration instructions.
Firefox
To install the browser extension, launch the Firefox browser, navigate to https://addons.mozilla.org/en-US/firefox/addon/zeroomega/, and click on the Add to Firefox button.
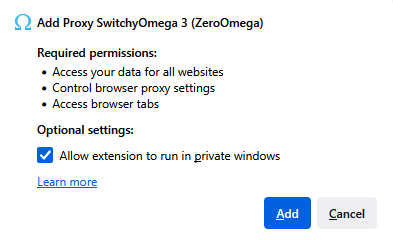
In the pop-up window, select Allow extension to run in private windows, and then click on the Add button.
In the subsequent pop-up window, click on the OK button.

Once the extension is installed, continue to the configuration instructions.
Configuring ZeroOmega
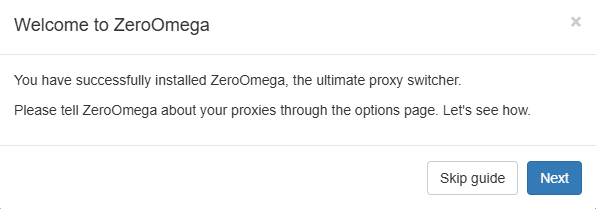
Either continue with the Welcome to ZeroOmega tutorial or click on the Skip guide or X button to close the pop-up window.
Next, select the proxy profile tab, change the value of the Server input field to Caido's default listening IP address of 127.0.0.1, and click on the Apply changes button to update and save the configuration.

Enabling/Disabling Proxying
To enable proxying to pass web traffic through Caido, click on the ZeroOmega toolbar button and select proxy.

To disable proxying, select the [Direct] option.