Creating Workflows
To create a new workflow, select a workflow type by clicking on either the Passive, Active, or Convert tabs and click the + New workflow button.

Once the workflow is created, you can edit its display name and provide an optional description.

TIP
View the Tutorials section of the documentation for detailed walk-throughs on creating a variety of workflows.
🧪 CAIDO LABS
Learn how to use this feature in hands-on, simulated training environments:
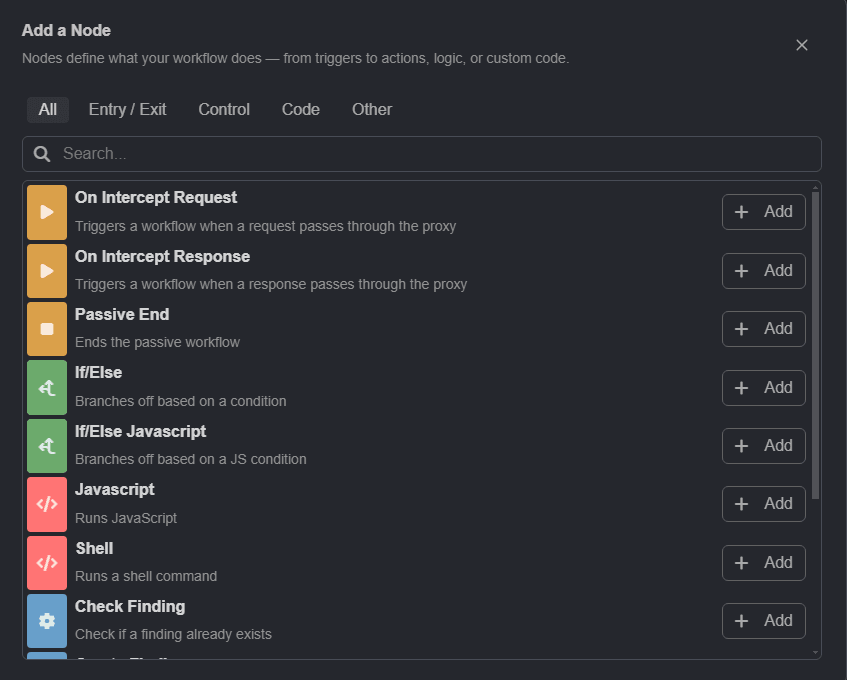
Adding Nodes
To add new nodes, click on the + Add Node button and the + Add button of a listed node.
In the workflow editor, click, hold and drag a node to rearrange its position. Once the nodes are arranged, click and hold on a node's output socket and drag the line to the next node's input socket to create connections.

Editing Nodes
Click on a node to access its individual editor.

TIP
To open the editor in a larger window, click on the button.
INFO
A node's Alias is a unique identifier used to reference it within a workflow. Aliases can only contain the following characters:
- Lowercase letters:
a-z - Numbers:
0-9 - Symbols:
-,_
Once you are done creating the workflow, click on the Save button. A message will appear notifying you that the operation was successful and the new workflow will be added to its associated type list.

Workflows are enabled by default, to disable a workflow click on it's sliding radio button.
INFO
By default, workflows are globally available across all your projects. Click on ( Switch to project-specific ) within a workflow row to limit its scope.