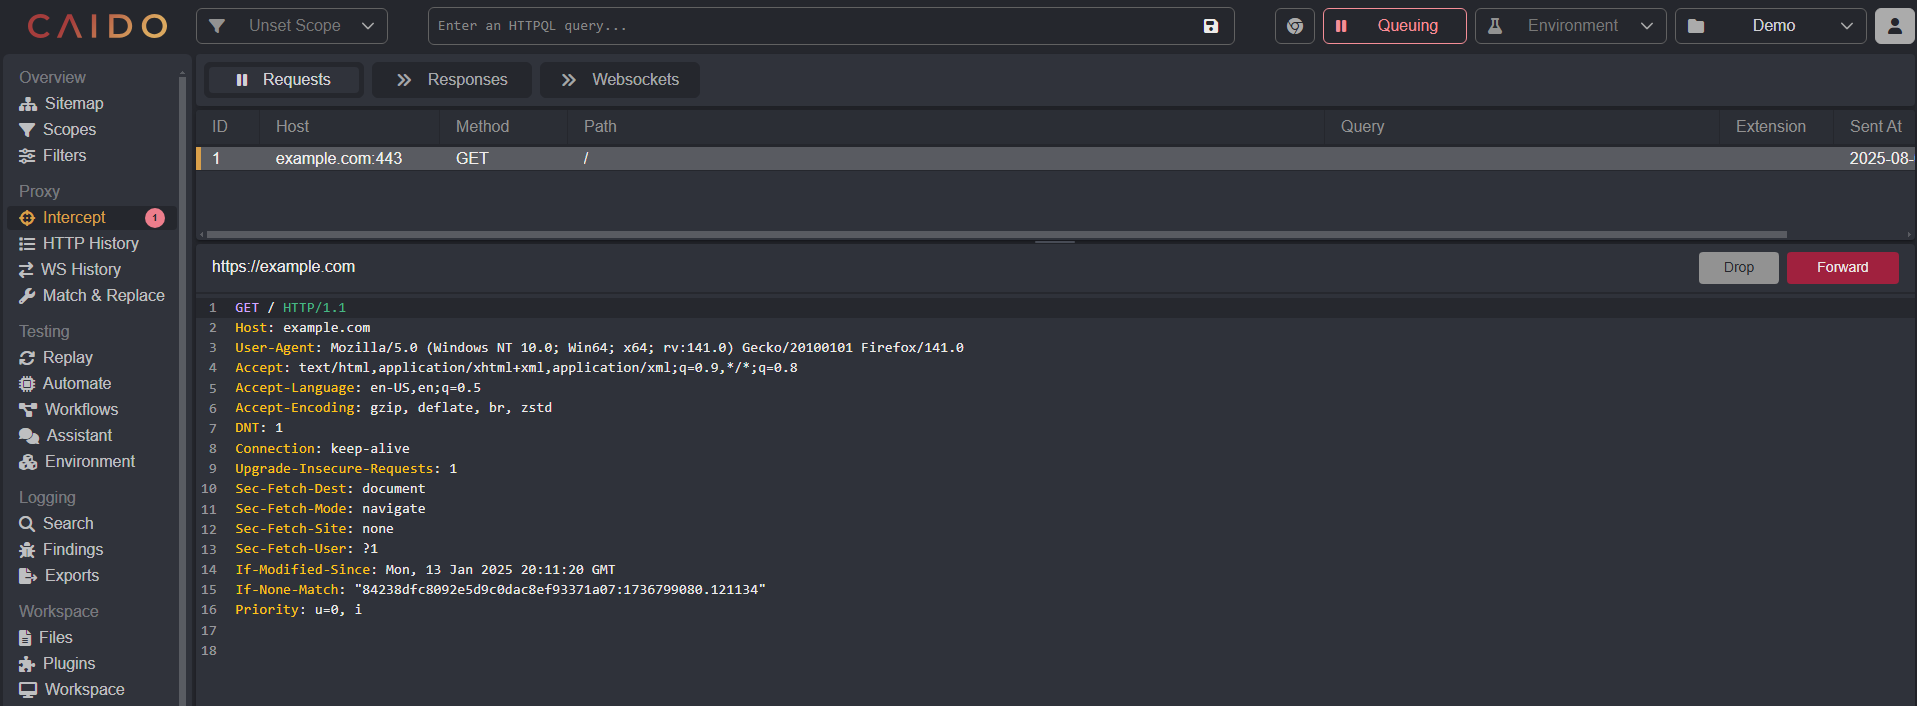
Intercepting Traffic
To begin intercepting proxied traffic, click on the Forwarding button to toggle it to Queuing.


TIP
If no subsequent traffic is intercepted, ensure the proxy settings of your client are properly configured and enabled.
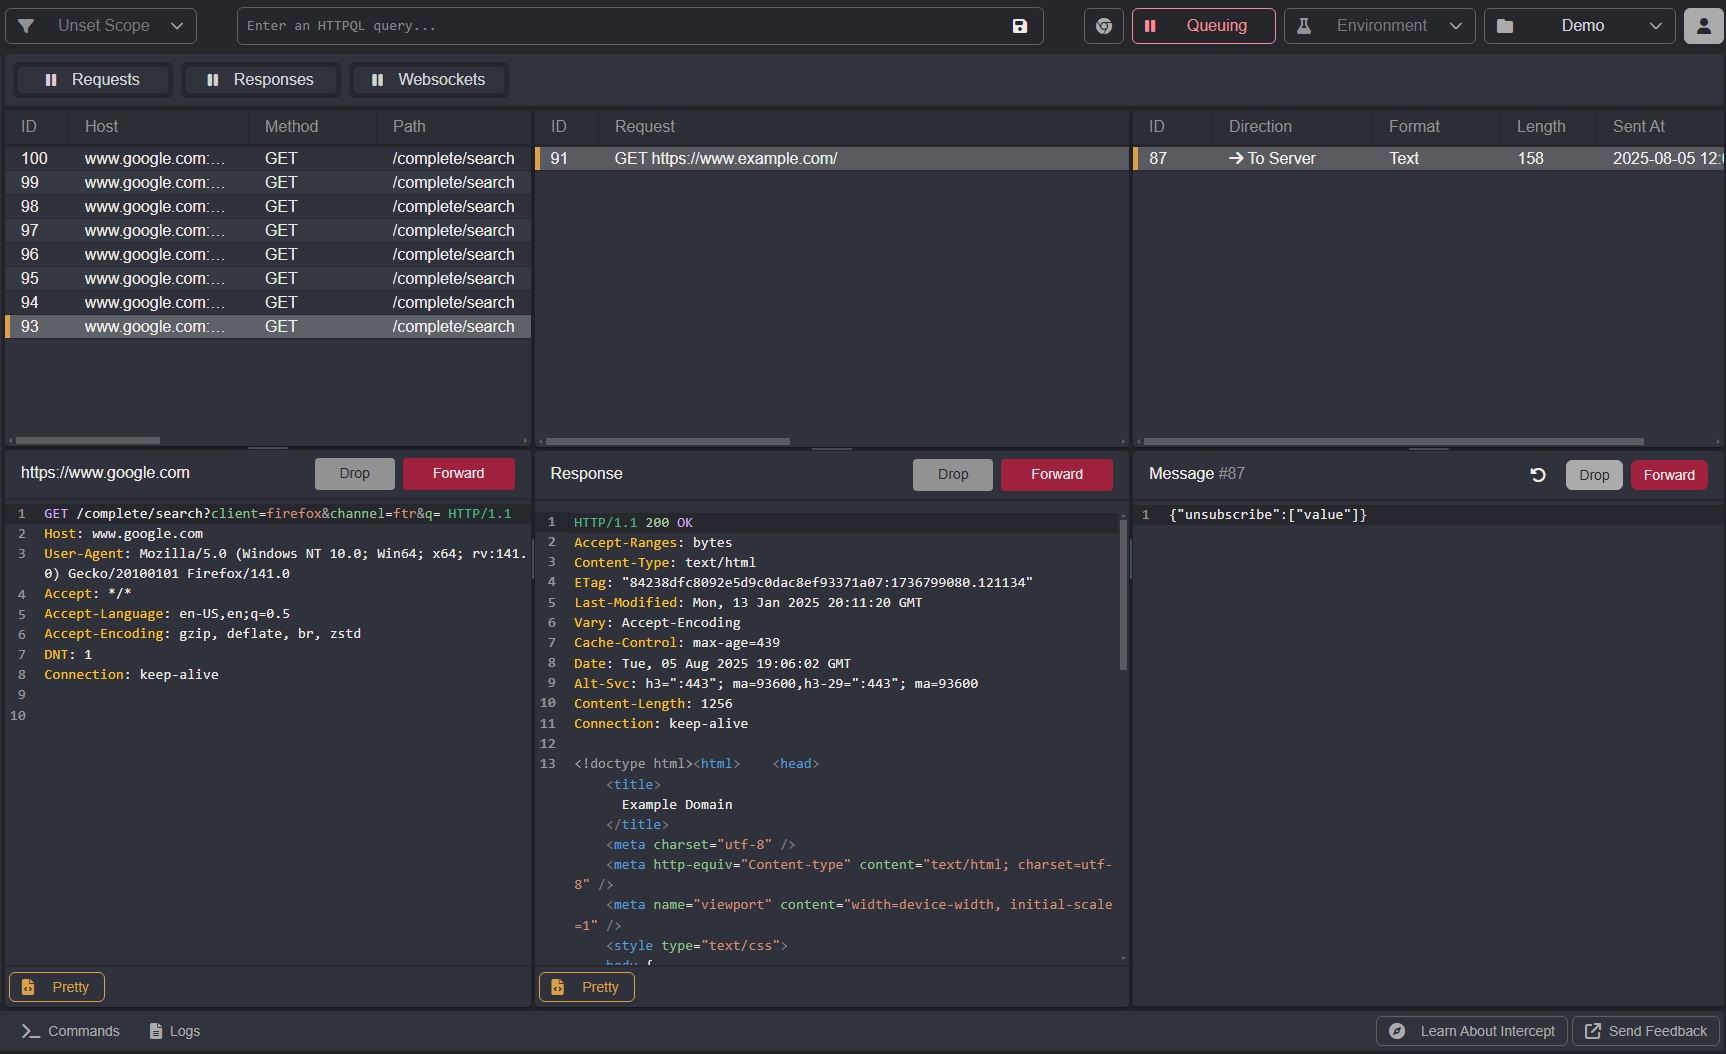
To give you control over what traffic is intercepted, Caido provides buttons for HTTP requests, HTTP responses, and Websocket messages.
To intercept traffic of a specific type, click on its associated button to toggle it to the state.

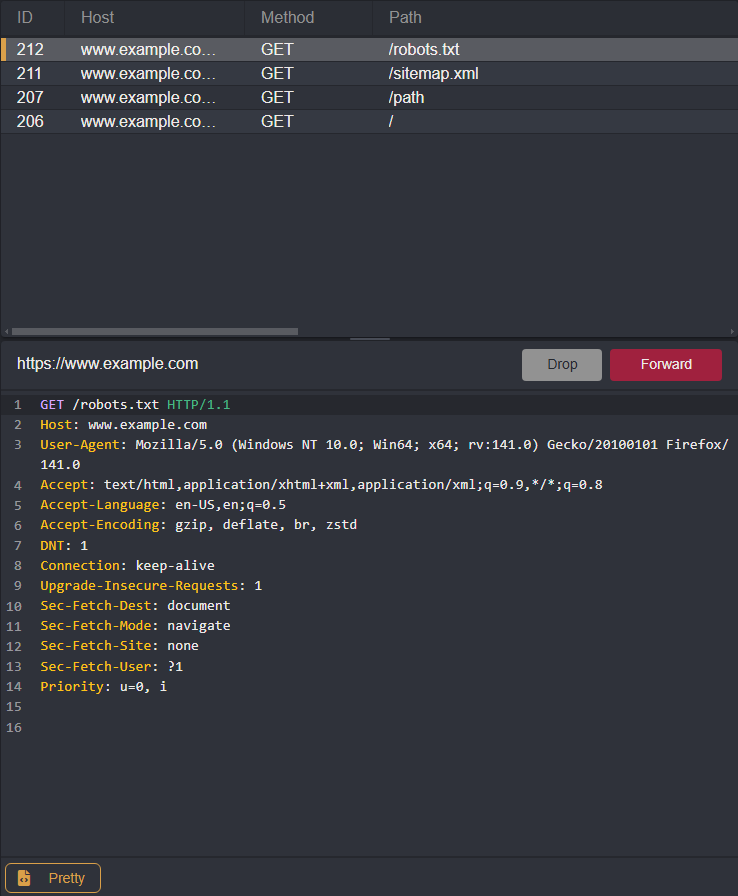
When interception is enabled, Caido will list all of the awaiting traffic in a queue table. Select any queued HTTP request, HTTP response, or Websocket message from its associated table to view its contents.
Once traffic has been intercepted, there are various actions that can be taken against it.
Modifying Intercepted Traffic
To make modifications to an intercepted HTTP request, HTTP response, or Websocket message, click inside its associated pane.
TIP
Click on the undo button to restore traffic to its original state.
Forwarding Intercepted Traffic
Clicking on the Forward button will send the traffic to its target recipient.
INFO
Any forwarded traffic that was modified from its original state will be marked as Edited within the State column of traffic tables. Both states can be viewed for comparison.
Dropping Intercepted Traffic
Clicking on the Drop button will stop the traffic from being sent to its target recipient.
Sending Traffic to Other Interfaces
To send intercepted traffic to other interfaces, right-click within a traffic pane to open the context menu, and select a Send to... or Plugins option.
TIP
With a request pane focused, you can quickly send the request to Replay with the default keyboard shortcut CTRL + R or to Automate with CTRL + M.
Disabling Interception
To resume passive forwarding for a specific traffic type, click on its associated button to toggle it to the state.

To resume passive forwarding for all traffic, click on the Queuing button to revert back to the Forwarding state.